
Upgrading your home’s insulation can significantly improve energy efficiency and comfort. The insulation installation process involves several crucial steps, including assessment, preparation, material selection, careful installation techniques specific to the chosen material (like fiberglass, cellulose, or spray foam), post-installation inspection, and cleanup. Whether you opt for a DIY approach or hire a professional, understanding these steps ensures a successful and effective insulation upgrade.
Preparation: Setting the Stage for Success
Before diving into the physical installation, a solid preparation phase is essential. First, you’ll want to carefully assess your current insulation situation. What type of insulation do you currently have? What’s its condition? (Internal Link Suggestion: Link to a blog post on identifying types of insulation in your home). Check for signs of damage, like moisture, mold, or pest infestation. Measure the square footage of the area you plan to insulate.
Next, gathering necessary tools and preparing the workspace is crucial. For a DIY project, this will include items such as safety goggles, a dust mask, gloves, a utility knife, and measuring tape. For attic installations, ensure you have safe access via a ladder or steps. Also, remove any furniture or items obstructing your path to ensure an open and safe area.
It is vital to wear personal protective equipment during insulation installation, due to dust and fiber particles that may get inhaled and irritate skin. Always be sure to use eye protection, hand protection, and respiratory gear, especially when working with fiberglass or blown-in materials. Adhering to all safety guidelines prevents accidents and promotes health while working on projects like these. For more details, explore floor insulation and how it contributes to home safety.
Types of Insulation Materials
Choosing the right insulation material is paramount. Each type offers unique advantages:
- Fiberglass Insulation: A cost-effective and widely used option, fiberglass is available in batts, rolls, and loose-fill forms. It’s known for its decent thermal performance.
- Cellulose Insulation: Made from recycled paper, cellulose is an eco-friendly choice. It’s often installed as blown-in insulation, providing excellent coverage.
- Spray Foam Insulation: Offering superior insulation and air sealing capabilities, spray foam is a popular, though often more expensive, choice. It expands to fill gaps and cracks.
- Rigid Board Insulation: Commonly used for walls and foundations, rigid board provides high R-value per inch. Learn more about wall insulation to ensure your home remains energy-efficient and well-insulated.
Consider factors like your budget, the area to be insulated, and your desired level of energy efficiency when making your selection. (External Link Suggestion: Link to a resource from the Department of Energy comparing insulation types).
Call Now button with a phone number prominently displayed.”
The Insulation Installation Process: A Step-by-Step Guide
The specific installation process depends on the type of insulation chosen, but here’s a general overview:
Assessment & Planning
Before purchasing any materials, evaluate how much space needs insulation, along with what existing structures, fixtures, or openings require specialized treatments. Make plans to protect sensitive elements against insulation risks by calculating the overall area of coverage as this guides an efficient distribution approach that supports effective thermal regulation within each home or commercial setting.
Safety Precautions
When working on tasks of this magnitude always take proper precautions. It’s absolutely vital to equip your full body from head-to-toe by wearing protective goggles, tight-fitting masks that help filter tiny airborne pollutants, rugged work gloves, as well clothing specifically geared towards reducing prolonged contact.
Installation Techniques by Type:
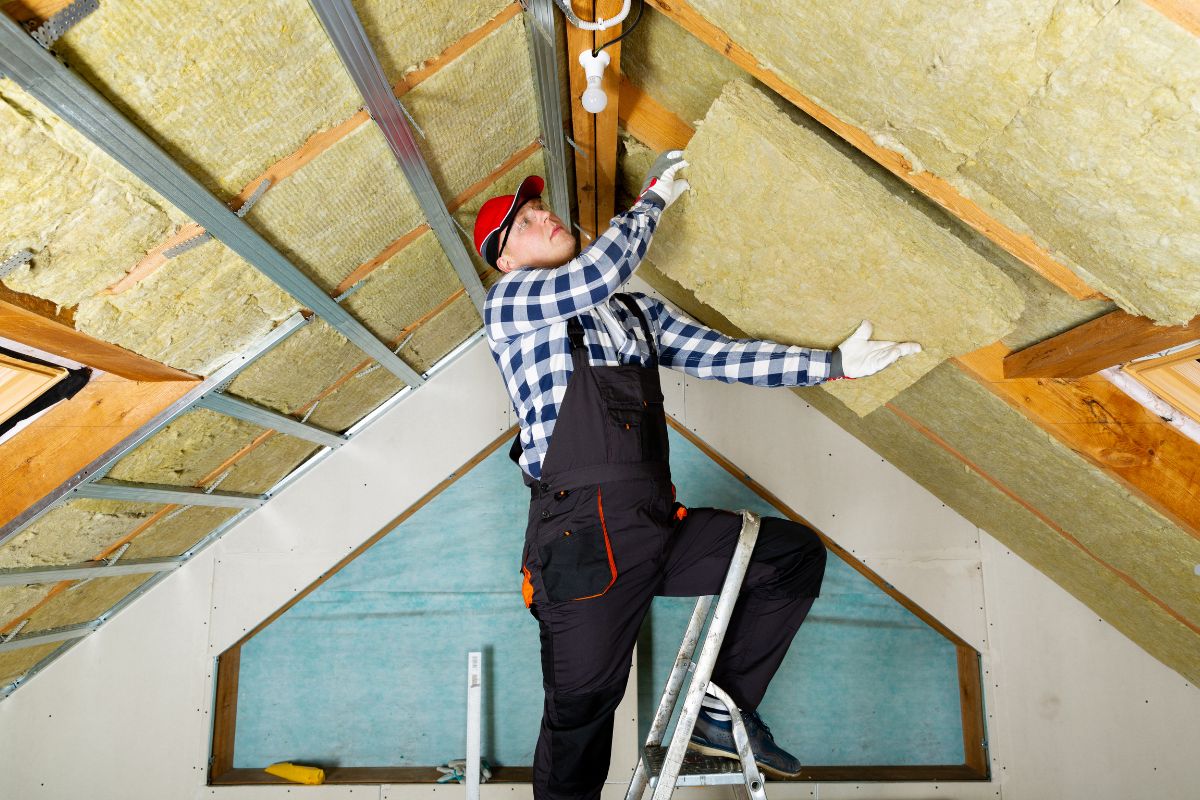
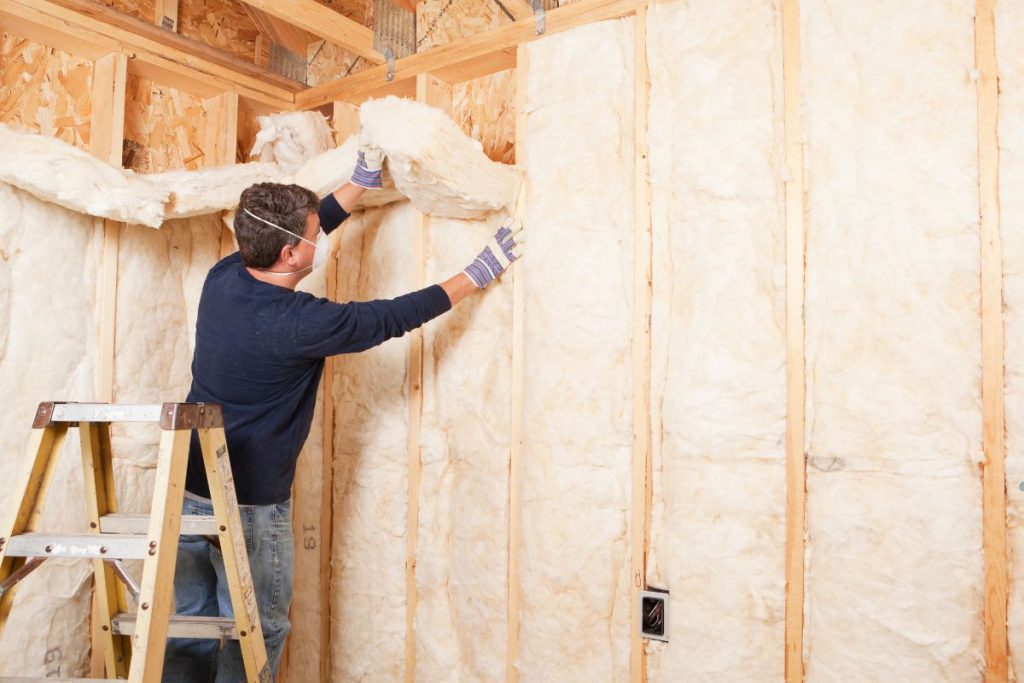
- Fiberglass Batts/Rolls: Measure and cut the batts to fit snugly between studs or joists. Ensure they fill the cavity without being compressed. The facing (paper or foil) should face the heated space in most climates.
- Blown-In Insulation: This requires specialized equipment. Fill up hopper-like container which automatically feeds material. Adjust machines so they spew contents uniformly into intended voids—ensuring balanced distribution across the zones being treated
- Spray Foam Insulation: (Strongly recommend professional installation!) Spray foam is applied using specialized equipment and techniques. It expands rapidly, filling gaps and creating an airtight seal. Proper ventilation is crucial during application.
- Sealing Air Leaks: A crucial step often overlooked! Before installing insulation, seal any air leaks with caulk or expanding foam. This will improve the overall effectiveness of the insulation. Pay attention to areas around windows, doors, pipes, and wiring.
Post-Installation: What Happens Next?
Once the insulation is installed, it’s time to ensure everything is up to par.
Inspection
Carefully inspect the installed insulation. Make sure it’s properly filling all cavities and that there are no gaps or compressed areas. For spray foam, check for even coverage and complete sealing. For batt insulation, ensure no paper or foil facing has come undone after installing the insulation; reinforce sections needing greater adhesion as needed.
Clean Up
Cleaning up is also very important after installation. Carefully dispose of all scrap and leftover resources according to local waste ordinances. Also, sweeping as well as vacuuming work areas helps get rid of any remaining dust or particles. This is essential for a safe and healthy environment.
DIY vs. Professional Installation: Which is Right for You?
Deciding between DIY and professional insulation installation depends on several factors:
Cost Considerations
DIY insulation installation can save on labor costs, but you’ll need to purchase the materials and tools. Professional installation may be more expensive upfront but can save money in the long run due to proper installation and increased energy efficiency.
Skill Level
Do you have experience with home improvement projects? Are you comfortable working in tight spaces or heights? Certain types of insulation, like spray foam, require specialized skills and equipment. (Internal Link Suggestion: Link to a guide comparing the costs and benefits of different insulation materials).
Time Commitment
DIY installation can be time-consuming, especially for larger projects. Professional installers can complete the job quickly and efficiently.
Choosing a professional can offer greater assurance of correct installation to keep your mind at ease, and for safety. Call us today so we can schedule your home project!
Frequently Asked Questions (FAQs)
How long does insulation installation take?
The duration depends on the size of the area and the type of insulation. A small attic might take a few hours, while a whole-house project could take a few days.
What are the signs that my insulation needs to be replaced?
Look for signs like drafts, high energy bills, uneven temperatures in your home, and visible damage to the insulation.
How much does insulation installation cost?
The cost varies depending on the type of insulation, the size of the area, and labor costs. Get quotes from multiple contractors for the best price.
Conclusion
Proper insulation is a critical component of a comfortable and energy-efficient home. By understanding the insulation installation process, you can make informed decisions and ensure that your home is adequately protected from the elements. Whether you choose to tackle the project yourself or hire a professional, remember to prioritize safety, proper techniques, and quality materials for long-lasting results. You may now feel safe and secure within your walls from the comfort provided through insulated structures. Contact us today to learn more!